A tile shower can look beautiful on the surface while problems stay hidden behind the wall. Grout lines read straight, the tile shines, and the fixtures sit flush — and yet a shower installed incorrectly can already be failing underneath, where no one can see it.
Small warning signs like recurring grout cracks, a tile that moves when you press it, water pooling on the floor, or a faint musty smell can point to a larger installation problem — a substrate that flexes, a floor that does not drain, or waterproofing that was skipped. None of these signs automatically mean your shower has failed. A single crack in an otherwise solid shower is normal wear. But when several signs show up together, they are worth understanding before they turn into a much bigger repair.
This guide walks through the most common signs your tile shower was installed incorrectly, what each one can mean, and when it makes sense to call a professional tile installer for a closer look.
Common Signs of a Poorly Installed Tile Shower
The clearest warning signs of poor shower tile installation include recurring cracked grout, loose tiles, standing water on the floor, excessive tile lippage, water appearing outside the shower, water sitting inside a niche, corners that keep separating, a persistent musty smell, and unexplained water staining. Any one of these can be minor, but several together usually point to an issue behind the tile.
- Recurring cracked grout that returns after repair
- Tiles that feel loose or move slightly when pressed
- Standing water or persistent pooling on the shower floor
- Excessive tile lippage, where one tile sits higher than its neighbor
- Water appearing outside the shower, near the curb or on the bathroom floor
- Water sitting inside a shower niche, bench, or shelf
- Caulk or grout that keeps separating at inside corners
- A persistent musty smell that does not go away
- Unexplained water stains or discoloration on walls or ceilings
In This Article
1. Cracked Grout Keeps Coming Back
Grout cracks. That is normal. Hairline cracks can appear in any shower as the structure settles and the tile assembly expands and contracts with temperature. What is not normal is grout that cracks in the same spot, over and over, every time it is patched.
Recurring grout cracks usually point to movement underneath the tile. The substrate may be flexing, the framing may not be plumb or solid, or a transition — like where the shower wall meets the curb — may not be properly supported. Grout is rigid. When the surface it bonds to moves, the grout cracks again, and again, no matter how carefully it is repaired.
Covering a recurring crack with more grout treats the symptom, not the cause. If the crack follows a specific tile edge, runs along a change of plane, or keeps opening after a repair, the substrate behind that section deserves a look before more grout goes on top of it.
2. Tiles Feel Loose or Move When Pressed
A tile that flexes slightly when you press on it is a tile that is no longer fully bonded to the substrate underneath. In a shower, that is a serious warning sign. Movement means moisture has a path behind the tile, and a moving tile works the surrounding grout loose with every use.
Loose tiles usually trace back to one of a few causes: poor mortar coverage when the tile was set, a dusty or contaminated surface the mortar could not bond to, substrate movement, or moisture that reached the back of the tile and broke the bond. Tap a suspect tile with a knuckle — a hollow sound often means the mortar coverage is incomplete underneath.
A single loose tile can sometimes be rebedded. Several loose tiles in the same wall or floor, especially near the pan or the lower courses, suggest a broader bonding or moisture problem that should not be tiled over again.
3. Water Pools on the Shower Floor
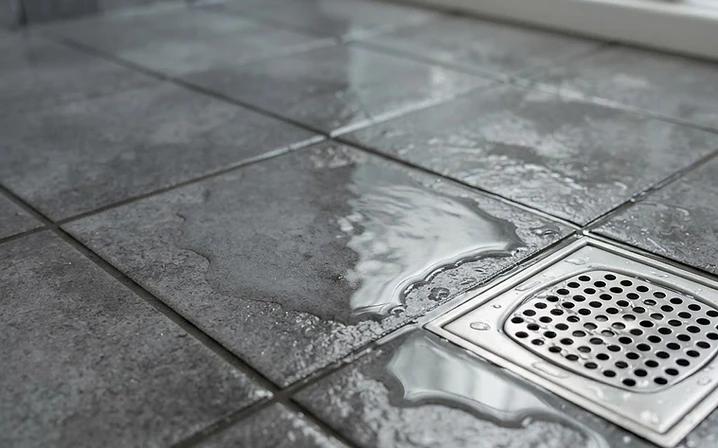
A shower floor is not flat. It is pitched. Every square inch of the pan slopes toward the drain so water moves off the surface and down, not sits. When a shower floor holds standing water, the slope was either never built correctly or has settled into a low spot over time.
Water pooling in a shower is one of the most telling signs of an incorrect shower slope. The fix is rarely the tile on top — it is the pan and the substrate beneath the tile that set the fall. A floor that drains in one area but ponds in another has a low spot, and that low spot will collect soap scum, grow discoloration, and slowly work moisture into the grout joints.
You can test it without any tools. After a normal shower, watch where the water goes. A well-built floor is nearly dry within a minute or two of shutting off the shower. Water that lingers, or that always collects in the same corner, is telling you the slope is not doing its job.

4. Grout Lines and Tile Layout Look Uneven
Layout is where preparation becomes visible. Inconsistent grout spacing, grout lines that wander out of alignment from row to row, awkward sliver cuts in prominent corners, and a niche that sits off-center from the tile grid are all signs the layout was not planned before the tile went up.
A strong layout is built from the focal points outward — the niche, the eye-level line, the main visible corners — so that cuts fall where they are least noticed and grout lines stay parallel from floor to ceiling. When the installer starts at one wall and works around the room hoping it lands evenly, the misalignment shows up in exactly the places you look at every day.
Uneven layout is a workmanship issue, not always a structural one. But it also tells you something about how carefully the rest of the shower — the parts you cannot see — was built.
Concerned About Your Tile Shower?
If your shower is showing several of these signs, Dream Tiles can talk through your custom shower and bathroom renovation options — from a targeted repair to a full rebuild done the right way.
5. Some Tiles Stick Out Farther Than Others
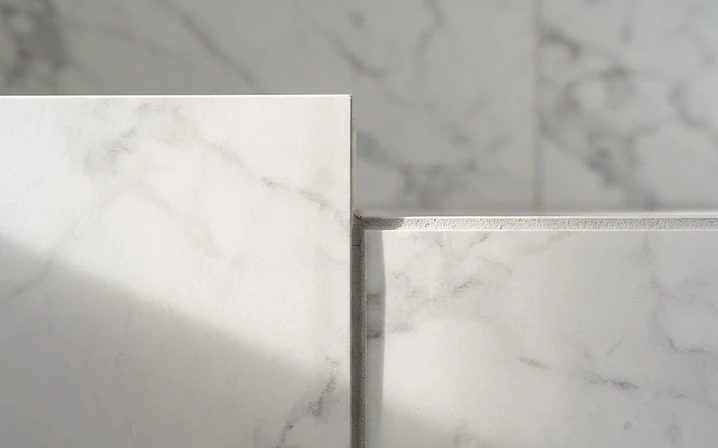
Tile lippage is the term for one tile sitting higher than its neighbor, creating a small lip at the grout joint. Run a hand across the wall and feel a catch, or look down a grout line under the bathroom light and see a row of tiny shadows — that is lippage.
A small amount of lippage is normal, especially with handmade or natural stone tile. But excessive lippage on large-format porcelain or ceramic tile usually points to a substrate that was not flat, uneven mortar coverage, or a lack of leveling clips during installation. The bigger the tile, the more a small height difference stands out — and the harder it is to hide.
Lippage matters beyond looks. A raised edge collects soil along the joint, is harder to clean, and on a shower floor can become a trip edge or a spot where water catches. On large-format tile, substrate flatness is not optional — it is what lets the tile lie in one plane.

6. Water Is Appearing Outside the Shower
Water that shows up outside the shower is the sign most homeowners notice first. A damp curb, a wet spot on the bathroom floor at the shower door, baseboards that swell or darken at the bottom, discoloration on the wall behind the shower, or a stain on the ceiling under an upstairs bathroom — each one deserves attention.
The source is not always obvious. It could be plumbing behind the wall, a drain that is leaking, a glass enclosure or curb seal that has failed, caulk that has pulled away, or waterproofing that was never installed correctly. Because several different problems can produce the same symptom, water outside the shower is a good reason to have the assembly inspected rather than assuming the cause.
Catching it early matters. A small leak caught at the curb is a caulking job. The same leak ignored until it reaches the ceiling below can mean opening the wall.
7. Your Shower Niche Holds Water
A shower niche is a horizontal surface inside the shower wall that holds bottles and soap. So are a built-in bench, a shelf, and the curb. Every horizontal surface in a wet area needs to shed water, not collect it.
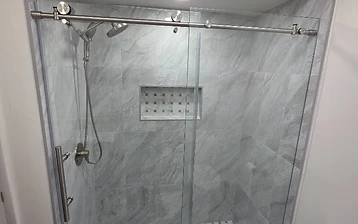
When a niche holds a puddle after a shower, it was not built with a slope — or the slope was installed the wrong direction. Water that sits in a niche eventually finds the seams, works into the corners, and over time undermines the waterproofing at exactly the spot you load with weight and product. The same applies to a bench top that ponds and a curb that does not shed water away from the glass.
The fix is not a different soap dish. The niche needs to be rebuilt with a slight pitch outward so it drains, and the waterproofing behind it redone as part of the wall.
8. Caulk or Grout Keeps Separating at Corners
Inside corners and changes of plane — where a wall meets the floor, where two walls meet, where the curb meets the wall — are the highest-movement joints in a shower. That is why they are caulked or sealed, not grouted. Grout is rigid and cracks at a moving joint; a flexible sealant absorbs the movement.
When caulk at a corner keeps pulling away, shrinking, or reopening every few months, the joint is moving more than the sealant can absorb. That can mean the substrate is flexing, the framing is not solid, or the corner was not properly prepared before the sealant went in. Re-caulking over a joint that keeps separating is a cycle, not a solution.
A corner that has been resealed more than twice is telling you the movement underneath is the real problem. The joint should be opened, the substrate checked, and the cause addressed before it is sealed again.
9. There Is a Persistent Musty Smell
A shower that never fully dries will eventually smell like one. A persistent musty odor that lingers even after the bathroom is cleaned is a sign that moisture is staying somewhere it should not — under a loose tile, behind a wall, inside a curb, or beneath a niche that holds water.
This is not a reason to panic about mold. Musty smells can have ordinary causes — a drain that needs cleaning, poor ventilation, a bath mat that never dries. But when the smell comes back no matter how well you clean, and it is paired with any of the other signs on this list, it points to moisture trapped behind the tile that surface cleaning cannot reach.
Persistent moisture behind a shower should be investigated, not masked. The smell is the symptom; the trapped water is the problem.
10. You See Water Stains or Discoloration
Discoloration on tile, grout, or the wall around a shower is not always a leak. Mineral deposits from hard water, soap scum, and iron in the water can all leave staining that looks alarming but is purely on the surface. A professional cleaning often removes it.
The stains that matter are the ones that come from behind — a dark patch on the wall outside the shower, a soft or discolored spot on the baseboard, a brown ring on the ceiling below an upstairs bathroom, or grout that darkens in one area and will not lighten. These point to moisture migrating through the assembly, not sitting on top of it.
Telling the difference is part of why an inspection exists. Surface staining cleans off; moisture staining comes back, because the water is still moving behind it.
11. The Shower Was Built Without Proper Waterproofing
This is the most important section on this page, so it is worth stating plainly:
The tile and grout are not the primary waterproofing system in a shower.
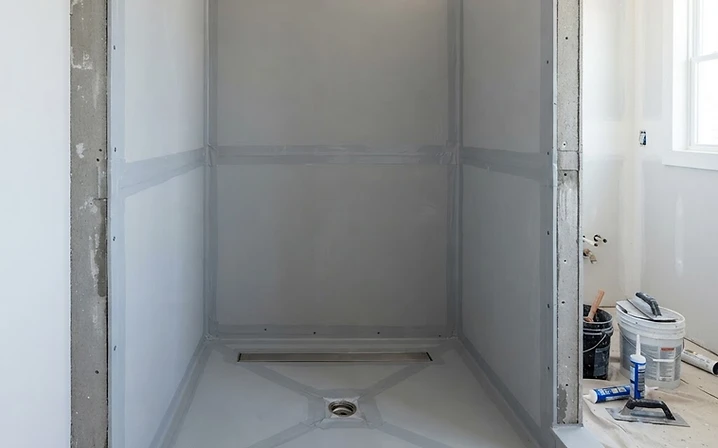
Tile sheds most surface water, and grout fills the joints — but grout is porous, and the corners, curb, drain, and every plumbing penetration are all paths moisture can find. The real waterproofing happens behind the tile. It is the membrane system bonded to the substrate, the sealed corners and seams, the drain transition, and the shower pan that actually keep water out of the wall and floor framing.
When waterproofing is skipped, done with the wrong materials, or applied without sealing the corners and penetrations, the shower relies on grout alone to hold water back. Grout was never built for that job. Moisture migrates through the grout joints, reaches the substrate, and over time rots the structure behind the shower — the exact damage you cannot see until it reaches the ceiling below or the baseboard outside.
This is why Dream Tiles treats waterproofing as the core of the job, not an afterthought. The membrane, the substrate preparation, the sealed corners and seams, the drain transition, and the shower pan are the parts that decide whether a shower lasts two years or twenty. The tile you see is the finish; the waterproofing you never see is the shower.